Burlap tree ribbons are not only versatile but also eco-friendly. They are biodegradable and made from renewable materials, making them an excellent choice for those who value sustainability. For example, they are perfect for reducing your environmental impact while still achieving a beautiful gift presentation.
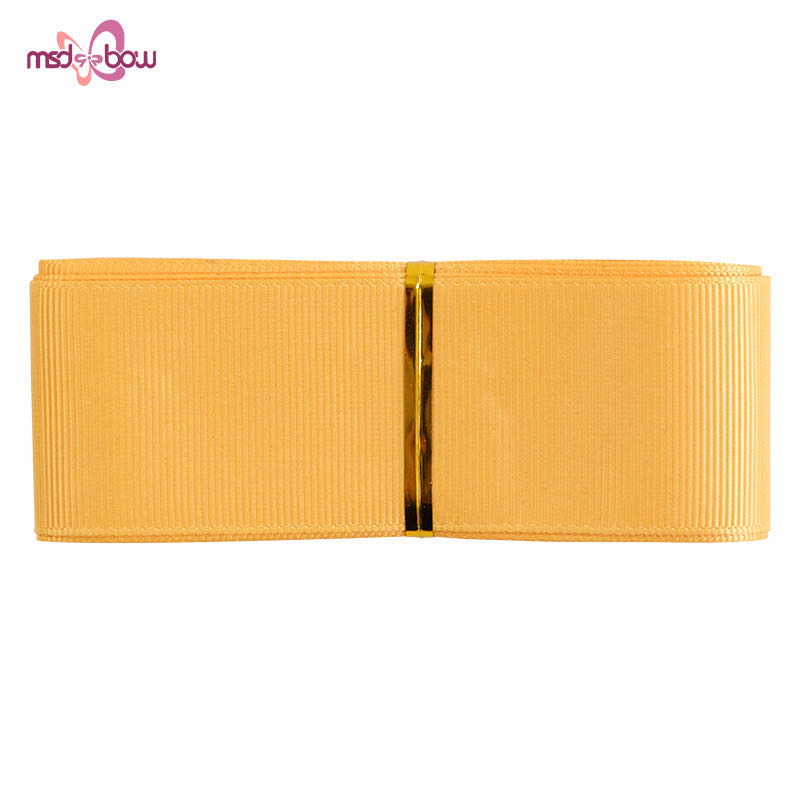
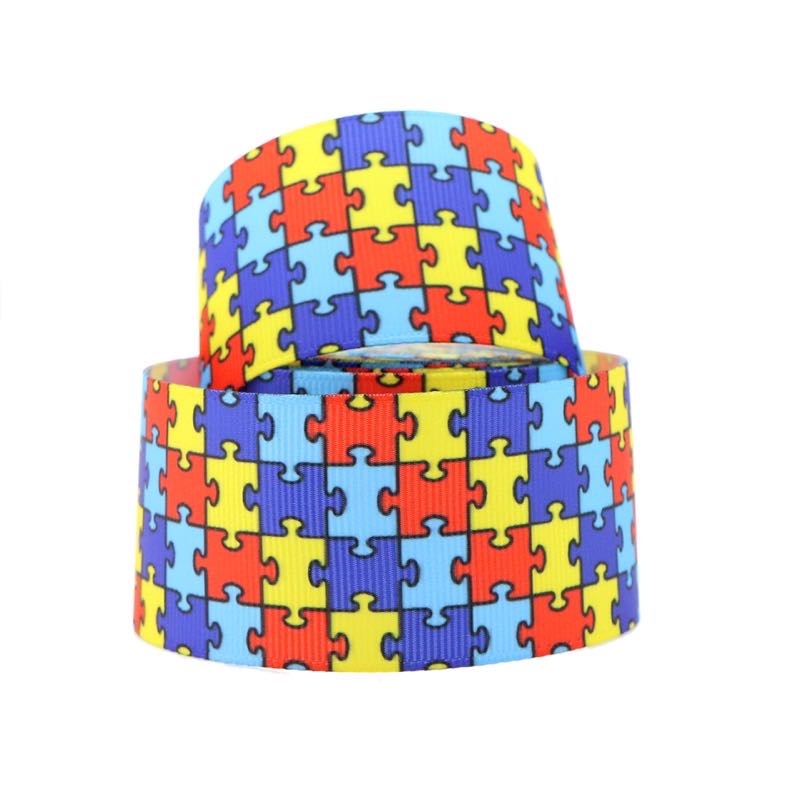
Burlap tree ribbons come in a variety of colors and textures, allowing you to choose the one that best matches your style and the occasion. Solid colors offer a clean and classic appearance, while textured and multi-colored options add a bit of visual interest.
Pick a ribbon that complements the gift and the occasion. For a casual gift, a solid color or simple textured ribbon will do the trick. For a more formal event, opt for a multi-colored or more intricate textured ribbon. For a special occasion, consider a ribbon that matches the color scheme of the event.
The size and shape of the gift will influence your choice of ribbon. For small, delicate gifts, a narrow ribbon will look more balanced. For larger gifts, such as holiday presents or wedding favors, a wider ribbon will provide better support and a more elegant look.
Your personal style will also play a role in choosing the right ribbon. If you prefer a bold and vibrant look, go for a multi-colored ribbon. For a more subtle appearance, choose a solid color ribbon. If you like a mix of textures and patterns, a textured ribbon will be perfect.
Once youve chosen the right burlap tree ribbon, lets dive into the wrapping techniques. Below are some step-by-step guides to help you create stunning gift wraps.
Creating a simple bow is one of the most popular ways to use burlap tree ribbons. Heres how to do it: 1. Cut the Ribbon: - Cut a length of burlap tree ribbon slightly longer than the ribbon you will use for the bow. 2. Fold and Staple: - Fold the ribbon in half and staple the ends together to create a bow. 3. Wrap the Bow: - Wrap the bow around the gift and secure it with a small piece of twine or ribbon. 4. Add a Personal Touch: - Add a decorative element, such as a photo, tag, or ribbon, to make the bow more personal.
Ribbon folding is a great technique for creating a decorative bow. Heres how to do it: 1. Cut the Ribbon: - Cut a length of burlap tree ribbon that is twice the length of the bow. 2. Fold and Staple: - Fold the ribbon in half, create a crease, and staple the ends together. 3. Re-Fold and Secure: - Fold the ribbon in half again, bringing the ends to the middle to create a smaller bow. - Wrap the bow around the gift and secure it with a small piece of twine or ribbon.
Twirling ribbons creates a fun and creative technique for wrapping gifts. Heres how to do it: 1. Cut the Ribbon: - Cut a length of burlap tree ribbon that is the same as the length of the gift. 2. Twirl the Ribbon: - Hold the ribbon in your hand and twirl it around the gift until its evenly distributed. 3. Wrap and Secure: - Wrap the ribbon around the gift and secure it with a small piece of twine or ribbon. - Add a decorative element, such as a photo, tag, or ribbon, to personalize the wrap.
This technique combines folding and twirling for a stunning effect. Heres how to do it: 1. Cut the Ribbon: - Cut a length of burlap tree ribbon that is twice the length of the gift. 2. Fold and Staples: - Fold the ribbon in half and staple the ends together to create a bow. 3. Twirl and Secure: - Hold the ribbon in your hand and twirl it around the gift until its evenly distributed. - Wrap the ribbon around the gift and secure it with a small piece of twine or ribbon. - Add a decorative element to personalize the wrap.
Once youve mastered the basic techniques, lets explore some creative ideas to make your gift presentations truly special.
You dont have to use just burlap tree ribbons for gift wrapping. Here are some ideas for combining materials: - Add Fabric Strips: - Tie fabric strips to the bow for a mixed texture look. For example, use soft cotton for a cozy feel or burlap for a rustic contrast. - Use Twine: - Use twine to secure the bow and add a decorative element. For a casual gift, add a small twig or leaf for a natural touch. - Wrap with Fabric: - Wrap the gift in fabric and secure it with burlap tree ribbons. Use a single piece of fabric or layer different types for a unique look.
Personalization can make a gift presentation more special. Here are some ideas for adding personal touches: - Add a Photo: - Include a photo or keepsake to the bow or wrapping. Print off a photo of you and your loved one, or a photo from a memorable moment. - Handwritten Note: - Add a handwritten note or tag. A simple note can make a gift more meaningful. - Mixed Colors: - Use ribbons of different colors to create a colorful and eye-catching design. Match the colors to the recipients favorite outfit or the season.
Traditional gift wrapping is often done using a simple box or rectangular shape, but you can get creative with the shape of your gift wrap. Here are some ideas: - Cylindrical Gift: - Wrap a cylindrical gift with a circular bow. This works well for candles, jars, or small bottles. - Square Gift: - Wrap a square gift with a diagonal bow. This creates a visually interesting diagonal pattern. - Rectangular Gift: - Wrap a rectangular gift with a diagonal bow. This diagonal pattern can add a dynamic touch to the gift presentation.